Designing Together – Using lighting design and video to give your audience more than they expected
by Erik Parker – Lighting Designer and Programmer, One Republic, Billy Currington, Here Come the Mummies, Kip Moore, Lee Brice, Jennifer Nettles, and current designer forNashville Based, Chris Lisle Lighting Design.
Video has changed the game of live concerts and lighting design. I was fortunate to come into the touring game after video made its entrance, giving me a great understanding of seamlessly incorporating both video and lighting elements into the overall production design for touring artists.
In any capacity, before being able to design anything, you must look at all logistical factors as well as artist creative direction. For example, if an artist wants a HUGE video wall on stage, but you’re limited due to small transportation and stages for club tours, you have to get creative to make it happen. If the artist wants it to feel like a fantastical and elaborate Oz on stage, you don’t want to approach your design with a streamlined, Apollo 13 in mind. Another thing to look at is the content that will be shown on the screens. The artist might provide previously built custom content, pay to have it made, rely on IMAG (putting a live feed on the screen), leave it up to you, the designer, to come up with the content on your own with no additional budget, or a mixture of the above.
Personally, I typically approach the design to give as many possible “moments” to the crowd as possible. By this I mean that I try to allow for several looks throughout the show without moving the rig, if budget doesn’t allow for automation. This means also designing video and lighting so at any point during the show either could take over and become the focal element.
There’s no right or wrong to accomplish this, but I have a couple things that I try to do on each design.
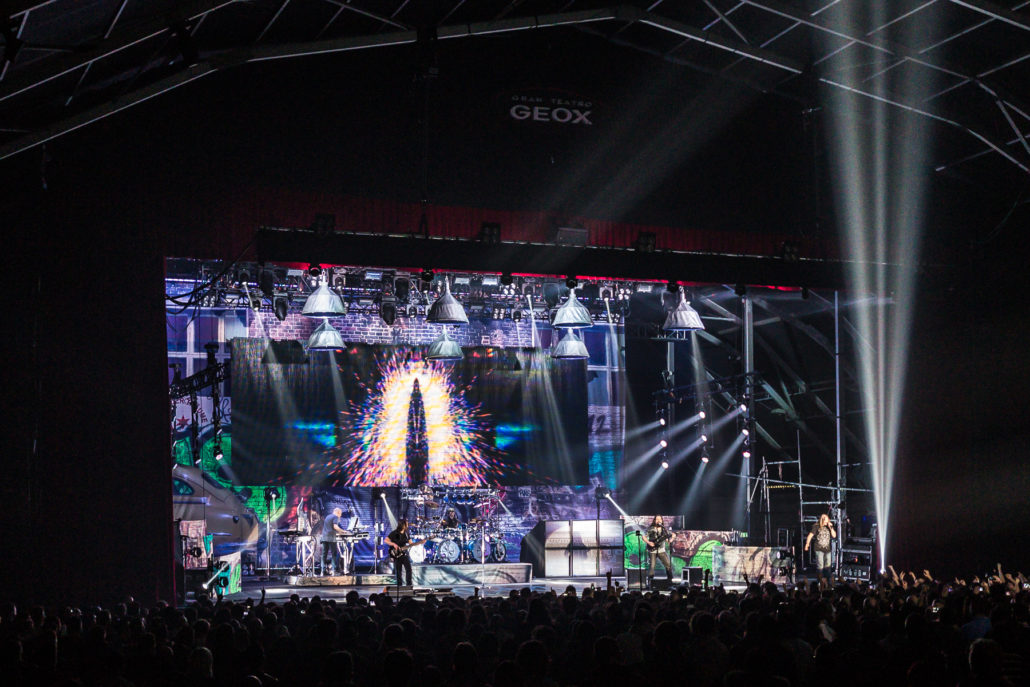
1. Make the video element large enough to see what’s going on… but not too big.
If you are putting any kind of actual image on the screen, the audience needs to be able to see what it is. Whether it’s a clip from their music video, an accumulation of random shots from each city, beach clips or whatever feels appropriate at the time, you should be able to tell what the image is. With that being said, I’m not a fan of the video wall being on at all times, therefore, I don’t want the screen so large that when you turn it off you get a huge black hole. Breaking up the screen with lights would fill this space, or using a lit backdrop could add a completely different effect.
2. Figure out how the video wall design will fit in the lighting design.
You want to make sure the whole production has a flow. You may want a square wall with a circular lighting rig, but that may end up not being quite what you’re going for. Make sure everything is concise and matches what you and the artist have in mind for the overall look.
3. Look at ways to mount it and either you or the road crew will travel with it.
Nothing is going to float in thin air. Mounting everything is important, as you want it to stay where it belongs. Many video and lighting companies will have hardware for some of the most common set-ups, but as you begin to change the orientation, work more closely with the vendors to come up with a plan to mount everything that will not make the road crew’s life a living hell. And by hell I mean zip ties… nobody has time for that.
4. If all else fails… Just remember, EVERYTHING on in open white, and if it moves, point it to the monitor guy.
They’re going to blame you for that anyway. Unless that’s your PM, then go to the FOH guy. Bring your sunglasses.
Beyond this, it’s all art. Paint your picture as crazy or simple as you desire. There’s no one to tell you it’s the “wrong” way to do it. They may try, but just because it’s not their way of doing things doesn’t necessarily mean it’s the wrong way. Think outside the box, and remember that the goal is to help the artist give the audience a show worth more than they paid.


